How to Boot from USB & Enable Secure Boot — Windows 10 / 11
Learning how to enable Secure Boot Windows 11 and Windows 10 is essential before installing or reinstalling Windows. This guide covers how to enable Secure Boot and TPM 2.0 in BIOS, how to boot from USB installation media, how to change the BIOS boot order, and how to boot into Safe Mode on Windows 10 and Windows 11.
How to Enable Secure Boot Windows 11 and Windows 10
To boot from USB in Windows 10 or Windows 11, you first need to create bootable installation media, then tell your PC to start from it instead of the internal hard drive. Use Rufus or the Media Creation Tool to write the Windows ISO file onto your USB drive.
Follow our full step-by-step guide:
How to Create a Bootable USB Flash Drive for Windows →
Insert the bootable USB drive into your PC, then follow the BIOS steps in Section 2 to set it as the boot device.
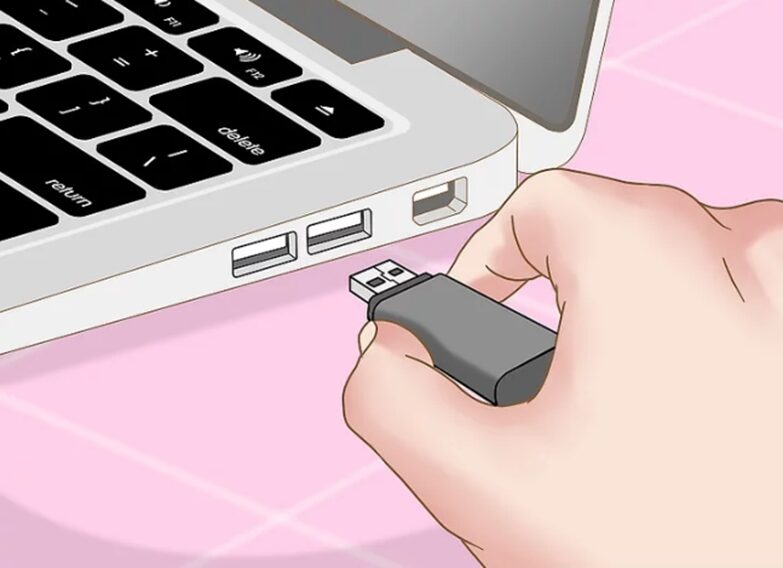
Your USB drive must have at least 8 GB of free space. All existing data on the drive will be erased when creating the bootable media.
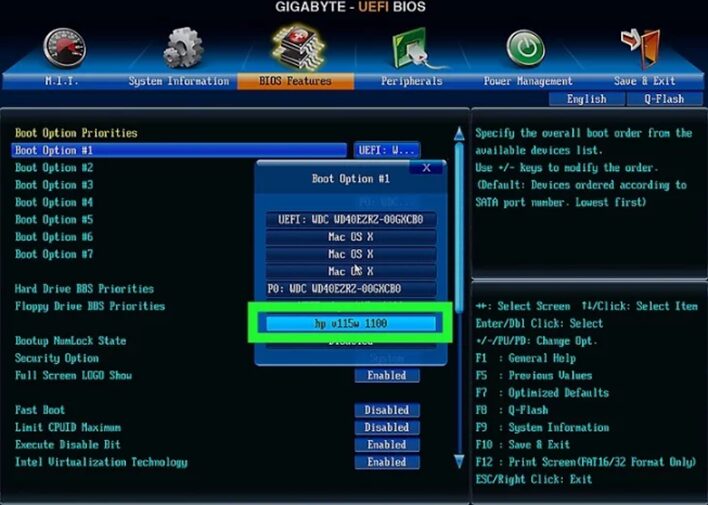
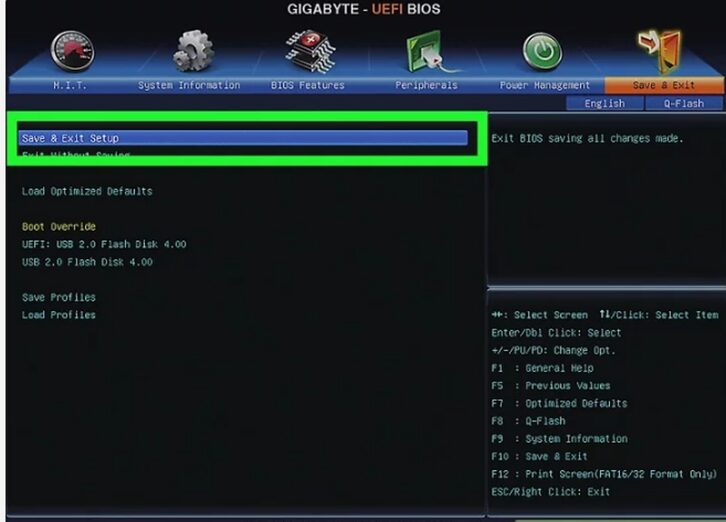
How to Change BIOS Boot Order — Windows 10 & 11
To boot into BIOS on Windows 10 or Windows 11, restart your PC and press the correct key at startup before the Windows logo appears. This opens your BIOS/UEFI firmware where you can change the boot order to prioritise your USB drive or DVD.
BIOS access keys by manufacturer
| PC Brand | BIOS Key | Boot Menu Key |
|---|---|---|
| Dell | F2 | F12 |
| HP | F10 or Esc | F9 |
| Lenovo | F1 or F2 | F12 |
| ASUS | Del or F2 | F8 |
| Acer | F2 or Del | F12 |
| MSI | Del | F11 |
| Gigabyte | Del | F12 |
| Samsung | F2 | F10 |

Press the BIOS key repeatedly right after pressing the power button — don’t wait for the Windows logo to appear or you’ll miss the window.
Steps to change the boot order
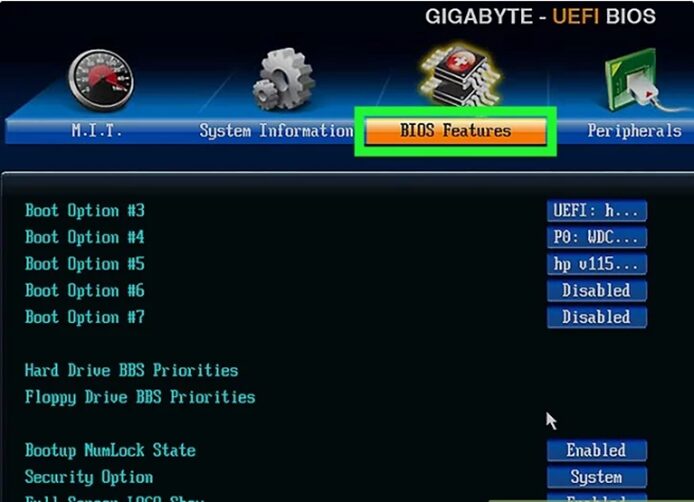
• USB Flash Drive → select Removable Devices
• DVD / Disc → select CD-ROM Drive or Optical Drive

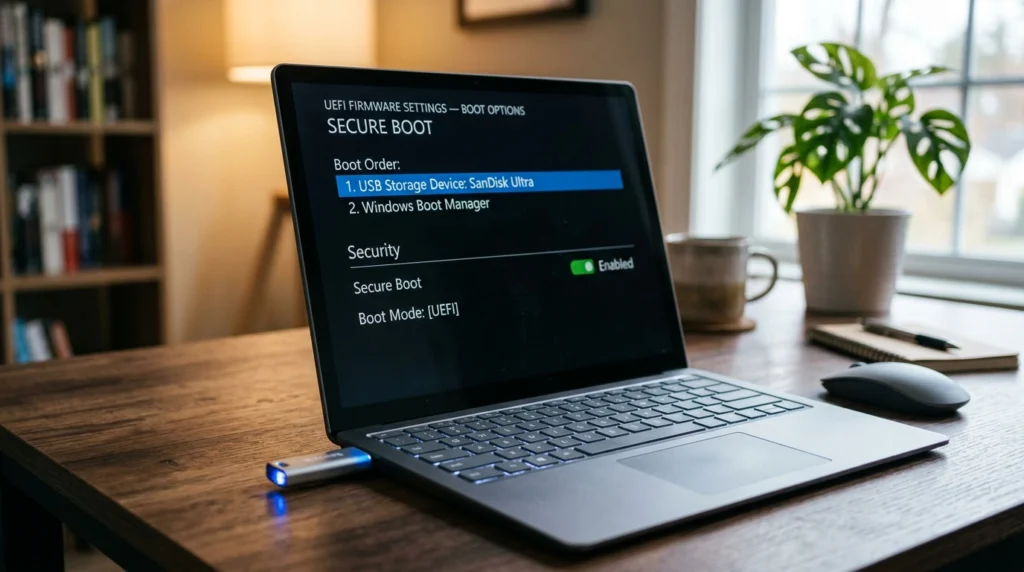
How to Enable Secure Boot — Windows 10 & 11
Secure Boot is a UEFI firmware security feature that prevents unauthorised software from loading during startup. It is required for Windows 11 and strongly recommended for Windows 10. If Secure Boot is disabled, Windows 11 installation will fail or activation may be blocked.
Windows 11 requires Secure Boot and TPM 2.0 to be enabled. If either is disabled, you will see the error “This PC can’t run Windows 11” during installation. Follow the steps below to enable both.
How to enable Secure Boot in BIOS
| Setting | Required For | Where to Find It |
|---|---|---|
| Secure Boot | Windows 11 (mandatory), Windows 10 (recommended) | BIOS → Security or Boot tab |
| TPM 2.0 / PTT / fTPM | Windows 11 (mandatory) | BIOS → Security or Advanced tab |
| UEFI Boot Mode | Required to enable Secure Boot | BIOS → Boot → Boot Mode |
Press Win + R, type msinfo32 and press Enter. Look for Secure Boot State — it should say On.
How to Boot into Safe Mode — Windows 10 & 11
Safe Mode starts Windows with only the minimum drivers and services needed to run. It is useful for troubleshooting crashes, removing stubborn software, or fixing driver issues. Here are the three most reliable ways to boot into Safe Mode on Windows 10 and Windows 11.
Method 1 — From Windows Settings (easiest)
Start → Settings → System → RecoveryOn Windows 10:
Start → Settings → Update & Security → RecoveryMethod 2 — Using the F8 / Shift+F8 key at startup
Method 3 — Using msconfig (System Configuration)
msconfig and press Enter.If you used msconfig to enable Safe Mode, remember to go back and uncheck Safe boot after you’re done — otherwise Windows will keep booting into Safe Mode on every restart.
Boot from Installation Media and Start Windows Setup
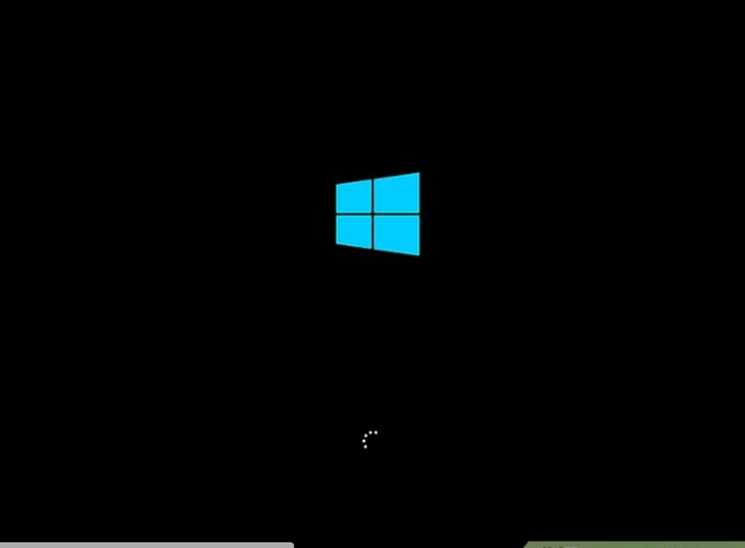
You have successfully booted from Windows 10/11 installation media. You now have full control over your Windows installation. Follow our full installation guide to complete the setup and activate your genuine license.
Booting from Windows 10/11 installation media is a straightforward process that gives you full control over your Windows installation or repair. Create your bootable USB, adjust your BIOS boot order, enable Secure Boot, and you’re ready to go.
Ready to install? Follow our complete guide: How to Install Windows 11 Pro — Download, Install & Activate →
Need a Genuine Windows 11 Pro License?
Get an authentic Windows 11 Pro product key with instant email delivery, free activation support, and a money-back guarantee.
Buy Windows 11 Pro Key →Related Guides
Continue with the next steps in your Windows installation journey: