System Requirements for Visual Studio 2019 Professional
Ensure your PC meets the following minimum requirements before installing Visual Studio 2019 Professional:
| Component | Requirement |
|---|---|
| Operating System | Windows 10 version 1507 or newer, Windows Server 2016 or newer (64-bit only) |
| Processor | 1.8 GHz or faster; Quad-core or better recommended |
| RAM | Minimum: 4 GB; Recommended: 8 GB or more |
| Hard Disk Space | Minimum of 800 MB up to 100 GB, depending on installed features |
| Display | Minimum 1280 x 720 resolution; 1920 x 1080 recommended |
| Graphics | DirectX 9-capable video card with at least 720p resolution |
| .NET Framework | .NET Framework 4.5.2 or later (required for installation) |
| Internet Connection | Required for downloading and installing Visual Studio and receiving updates |
Download the installer
Go to the official Microsoft website : https://visualstudio.microsoft.com/vs/
Click the “Download Visual Studio” button.
Make sure to select the Professional 2019 edition from the dropdown menu (not Community or Enterprise).
Installation Microsoft Visual Studio 2019 Professional
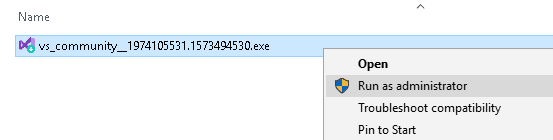
Once the file has been downloaded, run it.
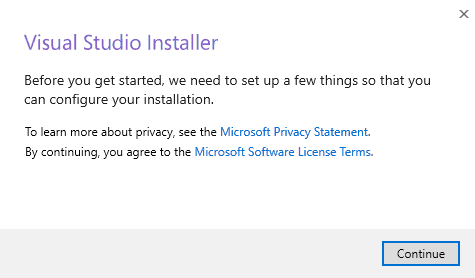
Next, you will be asked to accept the software License terms and Privacy Statement. Click on continue to go ahead with the installation
Follow the on-screen instructions to complete the installation.
During the process, you can choose the development modules you need (e.g., desktop, web, mobile development, etc.).
How To Activate Visual Studio 2019 Professional
Open Visual Studio 2019 once it is installed.
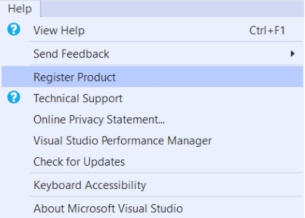
In the menu bar, go to Help > Register Product.
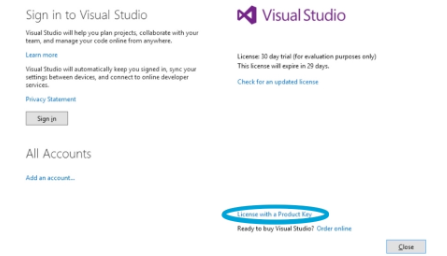
In the activation window, select “License with a Product Key” (at the bottom).
Enter the product key you received.
Click “Activate” or “Apply” to complete the activation.
Confirmation
Once successfully activated, you will be able to use Visual Studio Professional 2019 without limitations.
If you don’t enter a key, you will have access to a 30-day trial version.